
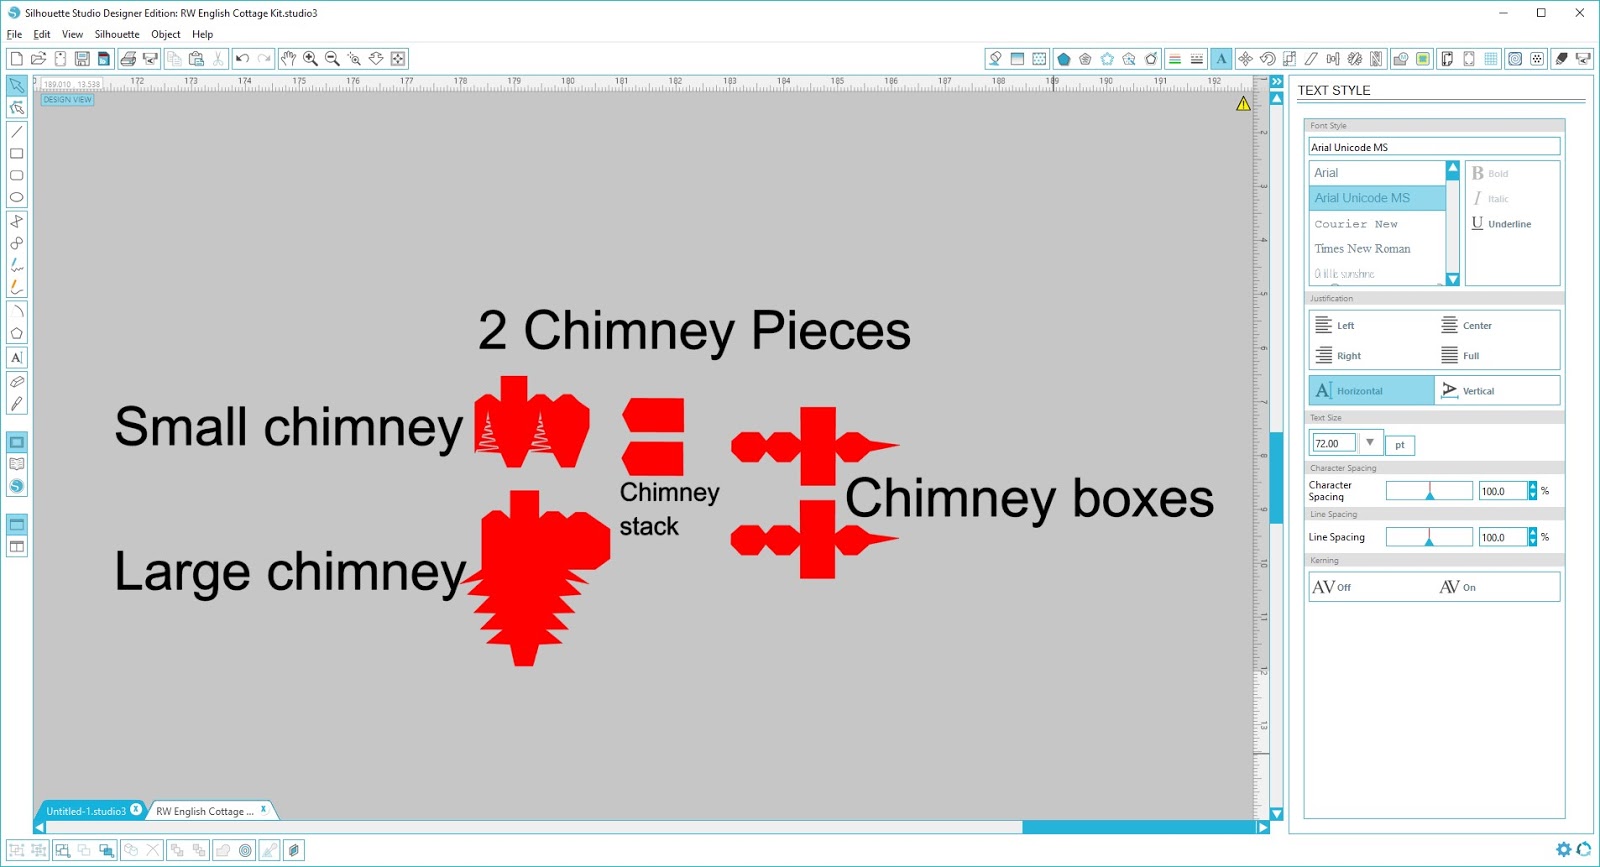
English Cottage Assembly
Hello all! I know the English Cottage Kit from SVG Attic looks intimidating, but once you get the first one done any future ones are a simple task!
 Haunted Cottage
To help you with your first assembly, I have put together a quick tutorial. IF YOU HAVE ANY FURTHER QUESTIONS, please do not hesitate to ask in the comments below!
To start with I cut out all the pieces and assembled them as needed.
 The base pieces I did in white (black on the haunted cottage, they will not be seen except for the roof's base pieces.
 Once everything was cut in the colors I wanted, I set aside all the little bits. Adhere the decorative wall pieces to the matching base piece. Note, the back wall that attaches to the smaller peak is slightly angled, not the straight edge.
 Above is the small peaked walls and the small front addition. (Add the window/door details at this point makes it easier while it is flat).
Below is the large peaked house.

 Now you will attach this funny looking wall to the main portion of the large peaked house.

 Line up the tabs and glue in place, note make sure you are gluing the tabs to the inside of the house!
 This is what it should look like. At this point, the newest funny looking piece is not glued to the smaller house.


 Once you have the basic boxed shape down, it will be time to add the roof which will help keep your house in a better shape!

 Cut out your pieces, at this point if you are using the decorative panels, adhere to matching pieces.
 For the chimney assembly, curl the two small chimney stacks around something and glue in place.
 Next, fold the tabs on each chimney. Make a box out of the top and glue in place. Bottom tabs fold outwards


 Push all tabs outwards after creating the initial box structure
 Next, assemble the little boxes that go on top of the chimney
 I found it was easier to create the actual box, then glue the top and bottom down
 Both of these boxes as well as the little chimney stack are the same size so you won't need to keep these separated for each chimney!
 Smaller roof:


 Once glued in place, this is how your smaller roof should look like!


 Finished roof!
 Now add the chimney
 Line the chimney up with the triangle cuts of the roof
 Flip your roof over.
 Glue the tabs down
 Aline the fold of the chimney to the bottom of the opening on roof.
 This will create the pitched effect of the roof.
 Inside glued chimney
 Large Roof Assembly:
 To help your paper be more flexible, grab something round and roll your paper around it.


 Do this for both sides


 Also, roll the middle attaching portion
 After rolling, bend all the little tabs down and apply glue
 Start at the back of the roof, line it up and glue in place
 Do for both sides

 Apply glue to the remaining inner roof and fold tab inside.
 Pinch together and let dry.

 Add the chimney in the same fashion as the first one!


 Add the little boxes as well as the stack
 When attaching the roofs to your structure, you will glue your smaller roof in place first, then the large roof.
 Decorate and enjoy!!!


To start with I cut out all the pieces and assembled them as needed.


Below is the large peaked house.

When assembled, this is how it should look flat.


Fold the smaller addition portion to the right.


When standing your house up, it starts to take form.

Start gluing the remaining tabs to make the box shape

 Once you have the basic boxed shape down, it will be time to add the roof which will help keep your house in a better shape!
ROOF Assembly:


Assembly the larger chimney in a similar fashion. 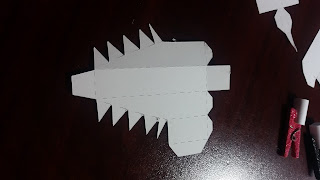


This funny looking little piece will fill the void between the roof and the small front addition.

It is actually pretty simple to form. Fold the top tabs inwards


Then fold the remaining tab downwards


This is what the addition should look like!

Flip the roof over and glue the tabs in place


Next glue the front tab to the front of the roof, this is how you will attach the wall of the small addition (with the largest window) to the structure.


Comments
Post a Comment
Thank you for visiting Sugar Bean Cards!
FTC disclaimer: I received some of these products for free but was not compensated for writing this post.