Floating Shelves
Hello all! In October, my husband and I were planning our next update to the house. One of which was a safe place to put my Christmas globes. He suggested floating shelves and I of course jumped on that suggestion.
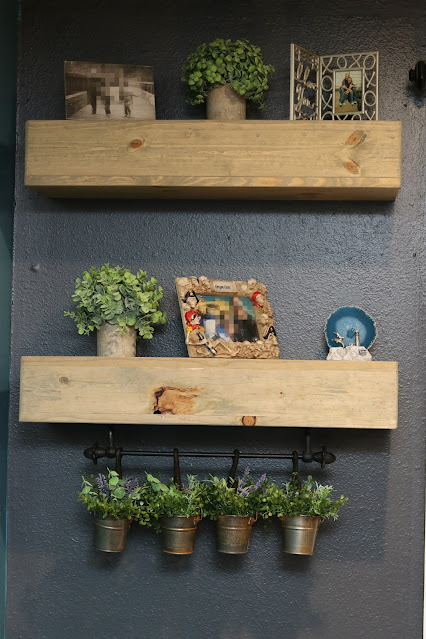
We decided to custom make the shelves to fit the space on each side of three large ceiling to floor windows in our living room. This space is fortunately across the room from the Gallery Wall I created so it breaks up the space and doesn't overcrowd our cozy living room.
He ended up building four shelves.
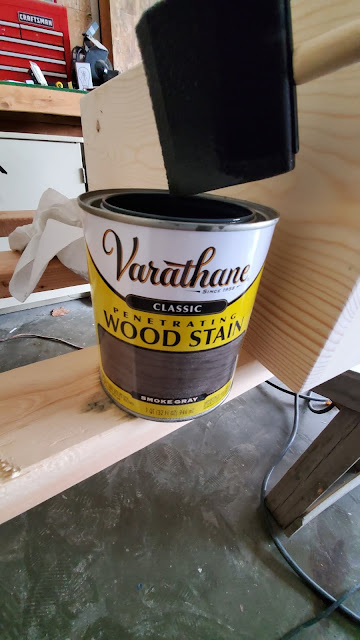
Each shelf was stained with this smoke gray Varathane stain.
Although the shelves look super heavy, they are not. They are heavier than a store bought fake wood shelf, but they are very well mounted to the wall. Not only are the brackets screwed into studs or anchors, the shelves themselves are also screwed to the inner brackets.
In addition to needing a space for my globes, we also needed a place for Christmas stockings. While at Hobby Lobby, I grabbed two of these heavy duty hook wracks to mount to the bottom of the two lower shelves.
We didn't get these up until two weeks before Christmas so I didn't put much effort into decorating the shelves. Next year though, watch out! Christmas is now over and this leaves us with a little issue, what do we do with the hooks now that Christmas is packed up? Well we craft this place up that's what we do! I decided I wanted to add in some more greenery and the best way to do that is buying these little buckets. I got 10 of them for under $10 at Hobby Lobby. The only problem is, I wanted them to be rustic.
Step 1 to a rustic bucket....rough up the exterior of each bucket with a stainless steel cleaning pad. Next soak the buckets in vinegar and about 2 tablespoons of salt for a couple of hours.
Next I rinsed my buckets and cleaned out my soaking tub. I filled it with hydrogen peroxide and another tablespoon of salt. I let it soak for about 30 minutes. This causes the rust to really pop on your steel. After I rinsed them off, I took the steel pad and scrubbed any areas I didn't want too much rust to show. Dry and set aside to fully dry.
The finished result. I went heavier with the rust, but I loved the outcome.
Next I gathered any greens I had on hand and started to divide and conquer.
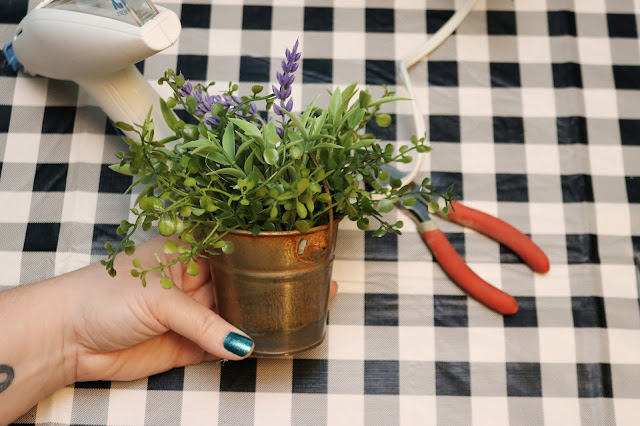
I used the Xyron Mini Multi-Stick Glue Gun and Xyron Mini Size Hot Glue Sticks to adhere my greenery to my buckets.
I added a few sprigs of lavender to bring in a pop of color to four of the buckets. Why only four? Well that's all the store had so I worked with what I had!
I added a little dollop of hot glue to the bottom of each sprig.
And adhered it to the inside of each bucket.
I also had to make sure my handle was upright and the florals were evenly created around each handle.
Bucket #1 done.
And here is where my husband thought it was a really questionable idea to hang floral buckets on the hooks. I personally like them.
Since I cannot keep a houseplant alive if my life depended on it, I am utilizing fake plants. I know, shame on me!
Off to the next project! Happy Crafting
FTC disclaimer: I received some of these products for free but was not compensated for writing this post. To view my complete disclaimer, click here


Comments
Post a Comment
Thank you for visiting Sugar Bean Cards!
FTC disclaimer: I received some of these products for free but was not compensated for writing this post.